My husband and I are very blessed to have two healthy little girls, that just so happen to be the cutest little buggers you've ever seen... okay, I'm biased, but this is a great (and super inexpensive) way to showcase your cute little humans!
What you will need :

- foam board (I bought a 20" x 30" piece and cut it down to about 8" wide)
- sharp knife
- cutting pad
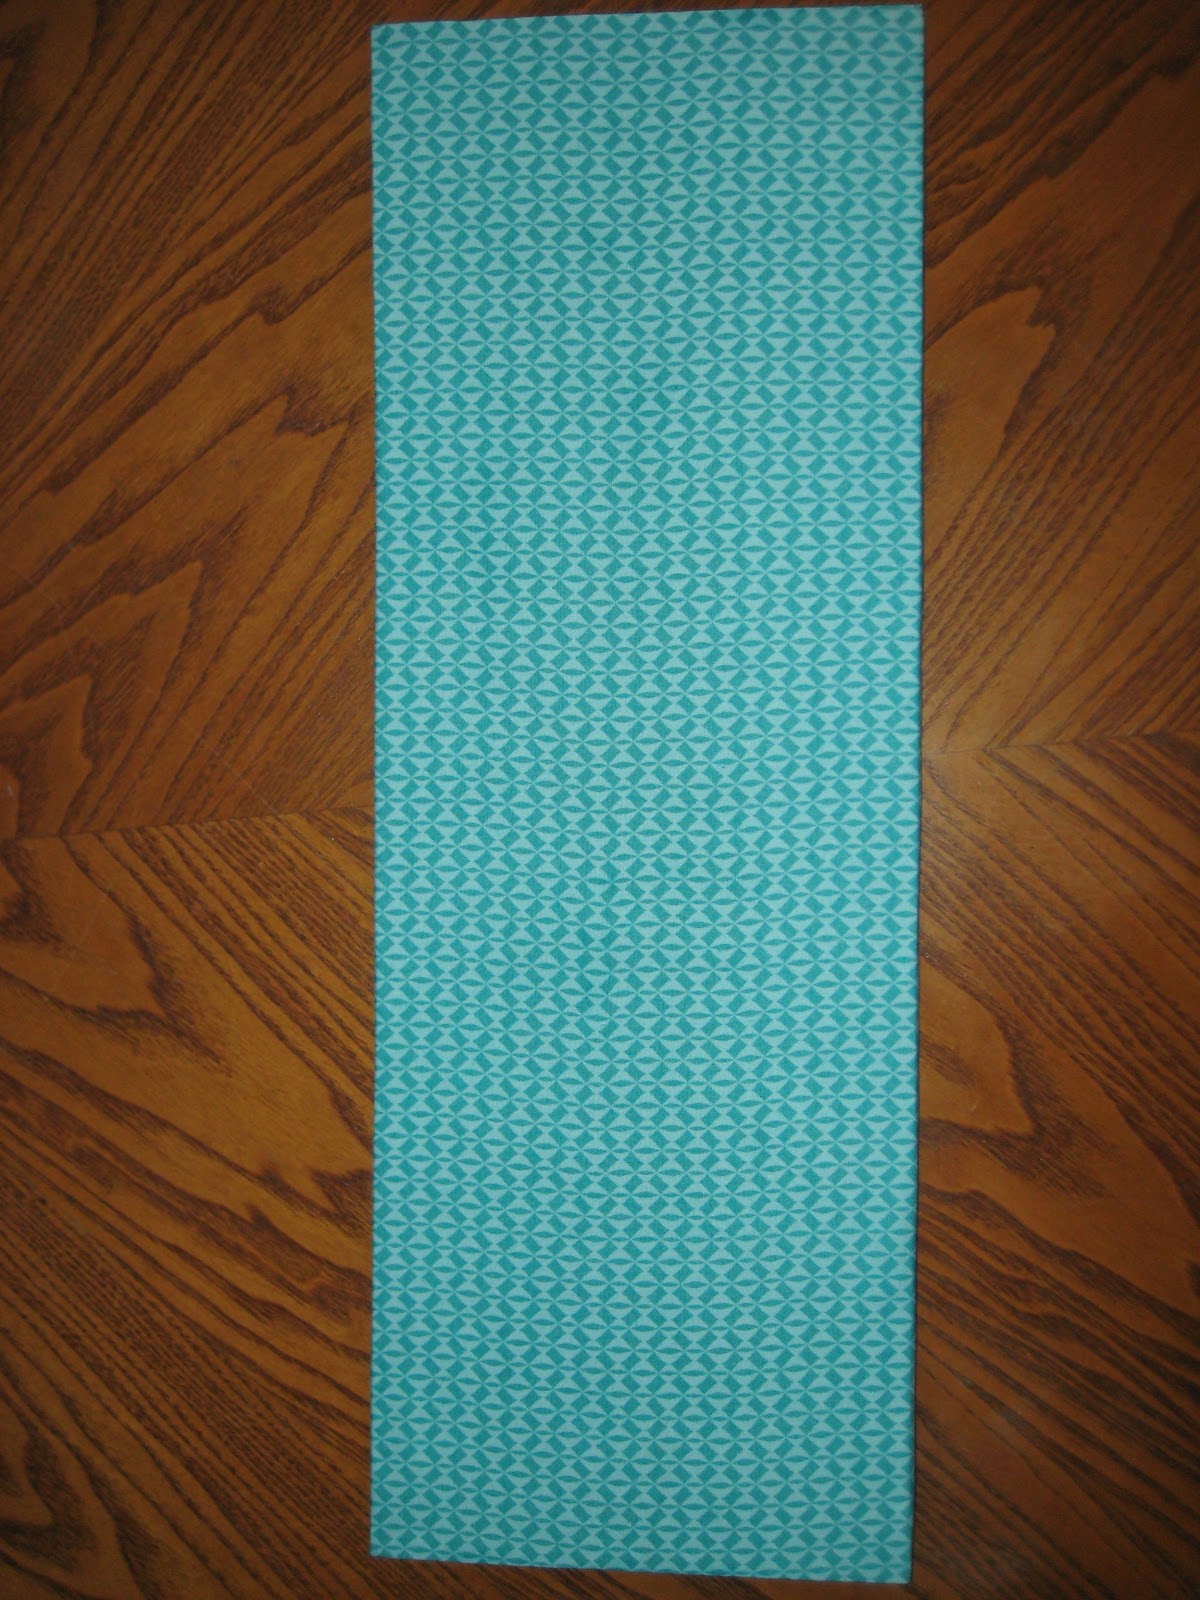
- fabric
- mod podge (mine happened to be the satin finish kind but whatever you have will work)
- foam brush
- photos
- ribbon
- buttons, or whatever you've got in your craft stash to jazz it up a bit.

1) Apply a thin layer of the mod podge to the foam board.
2) Cover the foam board with the fabric of your choice, wrap the fabric around the back and trim. Once the front was all dried I mod podged the back as well.
3) Measure out your ribbon (I just laid it on where I wanted it and then cut, leaving some extra at the bottom) then mod podge that as well.
~NOTE : when I was doing this part with the ribbon I taped the excess on the bottom to the back of the board, as well as the loop on top - it secures it so you're not constantly trying to hold it in place. Make sure not to mod podge the loop on the back or else you'll have nothing to hang it with later on.
 |
| Wet mod podge - looks cloudy and yucky, but will dry clear, pinky-promise! |
4) Place your photos on the fabric, if it's still tacky - great! If not just put on a thin layer to keep them from sliding when you're mod podging over them. And yes, I know what you're thinking: oh heck no, this is going to damage the photos or ruin them all together! and that the project would be all for nothing but it didn't hurt the photos at all *phew - enter sigh of relief*
5) Once the photos are in place and you've put on the mod podge, please keep in mind you'll be able to see the brush strokes a bit so I'd suggest doing two layers and keeping the brush strokes going in the same direction... if it's not a big deal then you can go every which way. I'm just OCD like that so it had to be just so.
 |
| See! dry mod podge - minus a little bit of glare you can barely tell there's anything over the photos. If you really want to eliminate this all together you can use a matte finish. |
6) Now the fun part, feel free to jazz up the wall hanging with buttons, ribbons, flowers, whatever you've got to make it that much more beautiful!

7) The top looked a little meh so I added these bows for a little something extra.

8) Ta-da! The finished product, in all it's glory - ready to be proudly displayed!
When this was all done it did bow a little bit so the next time I did something like this I might make it a little smaller, or doing individual squares. Or maybe even securing the corners to the wall with some decorative nails. The possibilities are endless!
No comments:
Post a Comment